Today is rainy and dreary. Which is great! It has been over 100 degrees for the past three or four week. We need the rain. I have been waiting on a rainy day to complete some projects. I gathered my supplies:

I’ve been wanting to make these flowers from Shellly Smith from The House of Smiths Blog to complete a project for my classroom. So I pulled up her tutorial got some energy drink in me and started going!
I got my fabric swatches and buttons from JoAnn’s. If you aren’t already aware they offer a 15% discount for teachers! Awesome!


My classroom colors are red, black, and turquoise so the first pack was for my room. The second pack is for a project for some pictures we are going to take.
{Quick Tip} I found it so much easier to cut my fabric in to squares after I ironed them. They are neatly folded with a piece of cardboard to keep them perfectly square…. just heat up that iron and press those wrinkles out.
Next, watch Shelly’s Tutorial, I am not going to give one because a. not my idea and b. she already did it so just head over there and read it real quick if you wanna make the flowers.
{Quick Tip} I folded my circles like a taco, then in half, and the folded the corners back. I couldn’t ever figure out how to just fold the corners back. 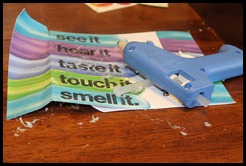
BEWARE: Your fingers will get burned with the hot glue gun! Thank you BirchBox for saving my table.
After cut, glue, repeat about 100x these were my finished products:

I’m sure they are perfect but I think that they are super cute. I wanted to add them to my project I was making for school.
A Birthday Board
Something to remind me that Yes! Even 5th graders like to celebrate their birthdays! and I did a TERRIBLE job last year with this, so what better than a Cute project to remind me.
Pinspiration:

She has her board with wire and then she laminated cute cut outs with each month and then writes the kids names on them. Well I just think that is a fantastic idea. So I was roaming around 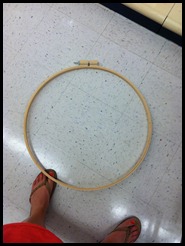 Hobby Lobby getting my creative juices flowing and I came across this embroidery hoop. Bazinga! I picked up some twine that was on sale, some cute tags, and some mini clothes pins to complete the project.
I spray painted the hoop turquoise and then added the twine to the inner hoop only:
Then I secured the outter hoop on the inner hoop and added my flowers:
The two big ones fit on the wood and the little one I hot glued two felt circles to the twine. I added the cards and the mini clips and with write the kids birthdays on them when I get my list.
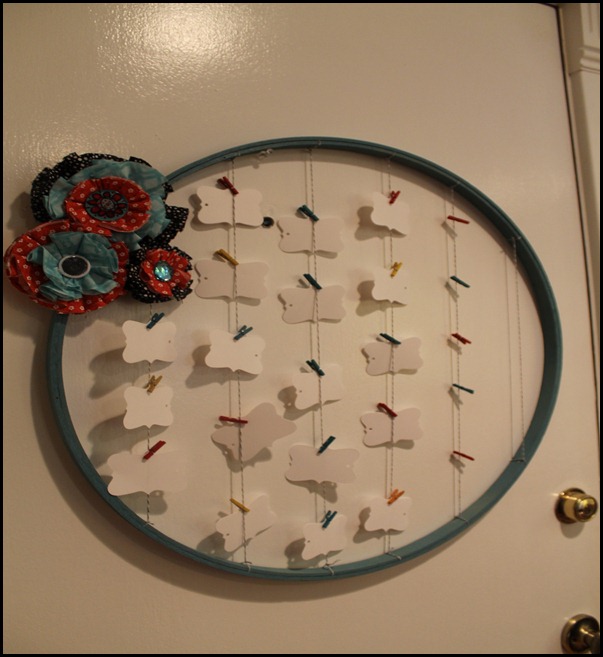
YAY for a complete project! I will also to the balloons on the long pixie sticks… click on the picture for the link to the balloons.

Project #2 Pinsipration

I got a blank wooden board at Hobby Lobby and painted it turquoise. Then I got red polka dotted ribbon and hot glued one edge behind the wood so it would wrap around the end…like so: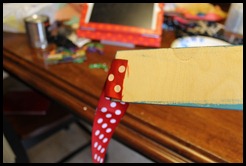
then hot glue the other end: 
It should be tight against the front of the board so pull tight.

I seriously need a Craft Room!
Next I added some precut letters and already black clothes pins to complete my no name sign!
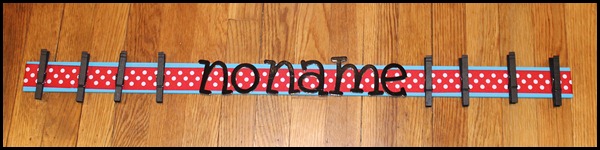
Again not perfect but cute!
Come back soon for the other flower project reveal and some awesome recipes from Skinnytaste.com.
Laura


![IMG_0347[1]](https://blogger.googleusercontent.com/img/b/R29vZ2xl/AVvXsEiRtV49pNDgE_JiJX7yP5s0BtfhKhfHzlZU7p-2RlUaDwpGeI5oSKK_BLvx_9KppcCpE1Uso_Kok3OCc7falBJsrP5DohyKijgm-RjZlVqC5PwjqLox8jU2n4evym0VgUa8vth_92oopbM/s1600-h/IMG_0347%25255B1%25255D%25255B4%25255D.jpg "IMG_0347[1]")